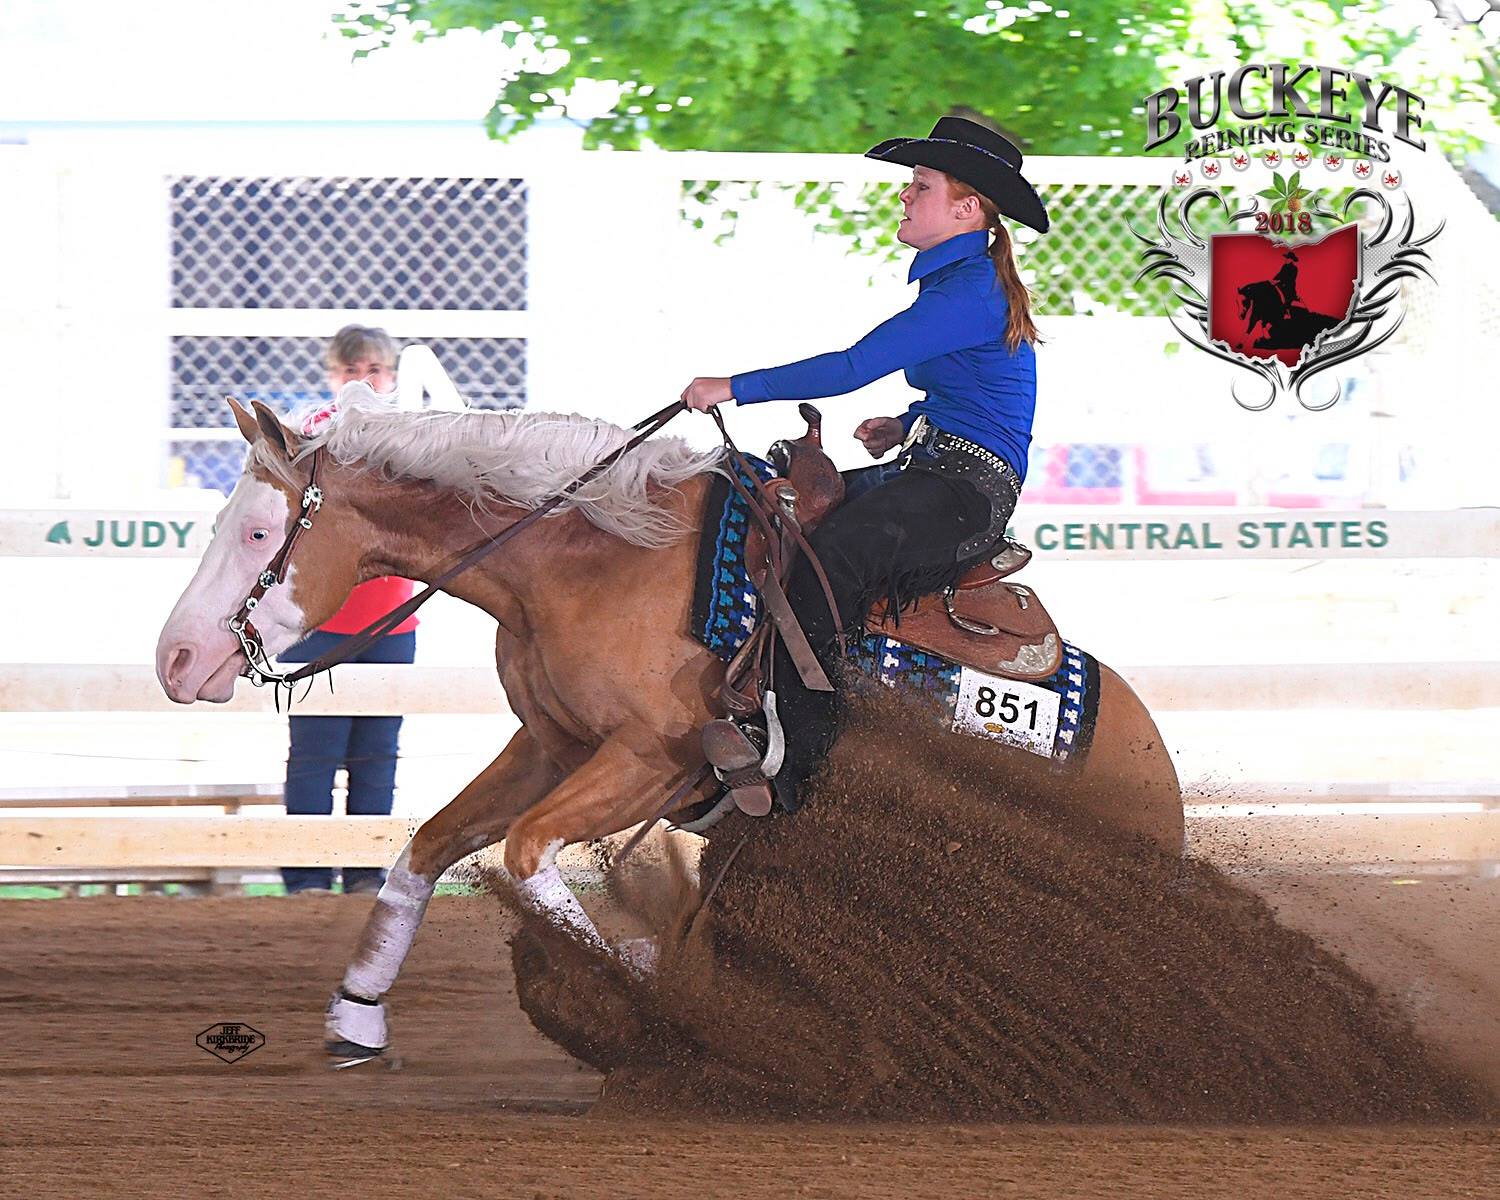
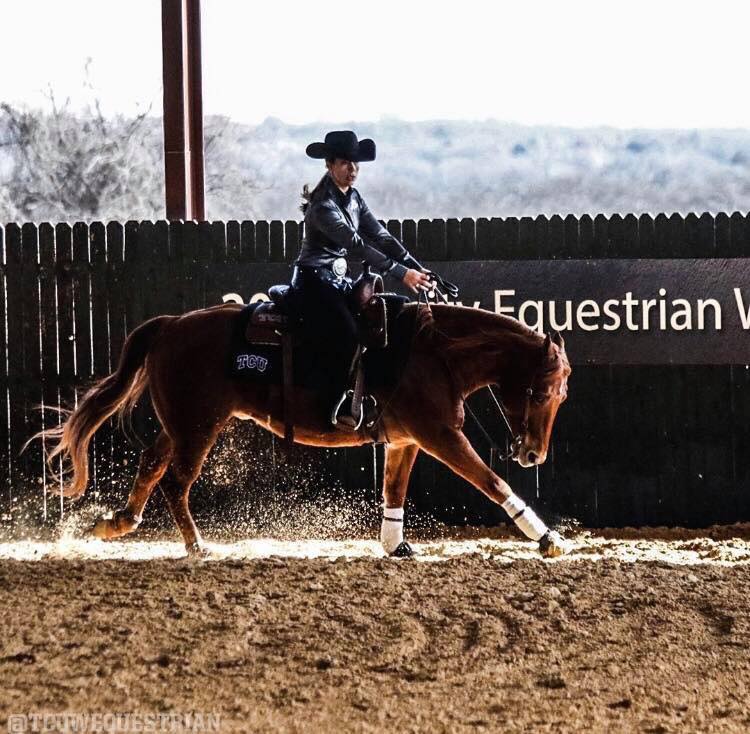
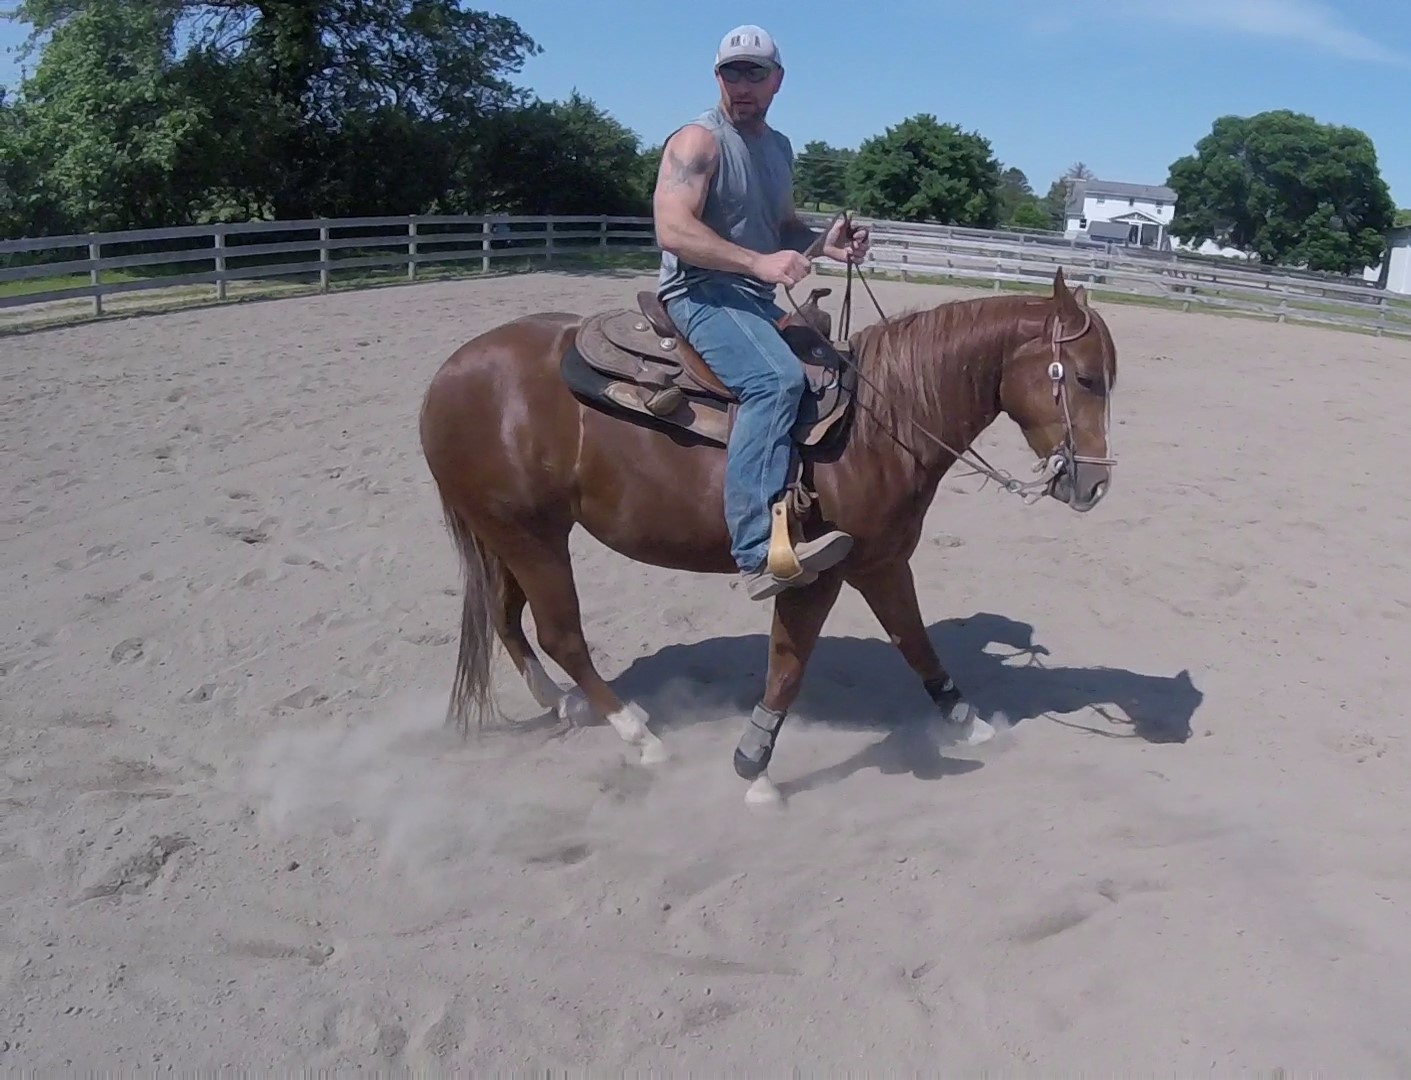
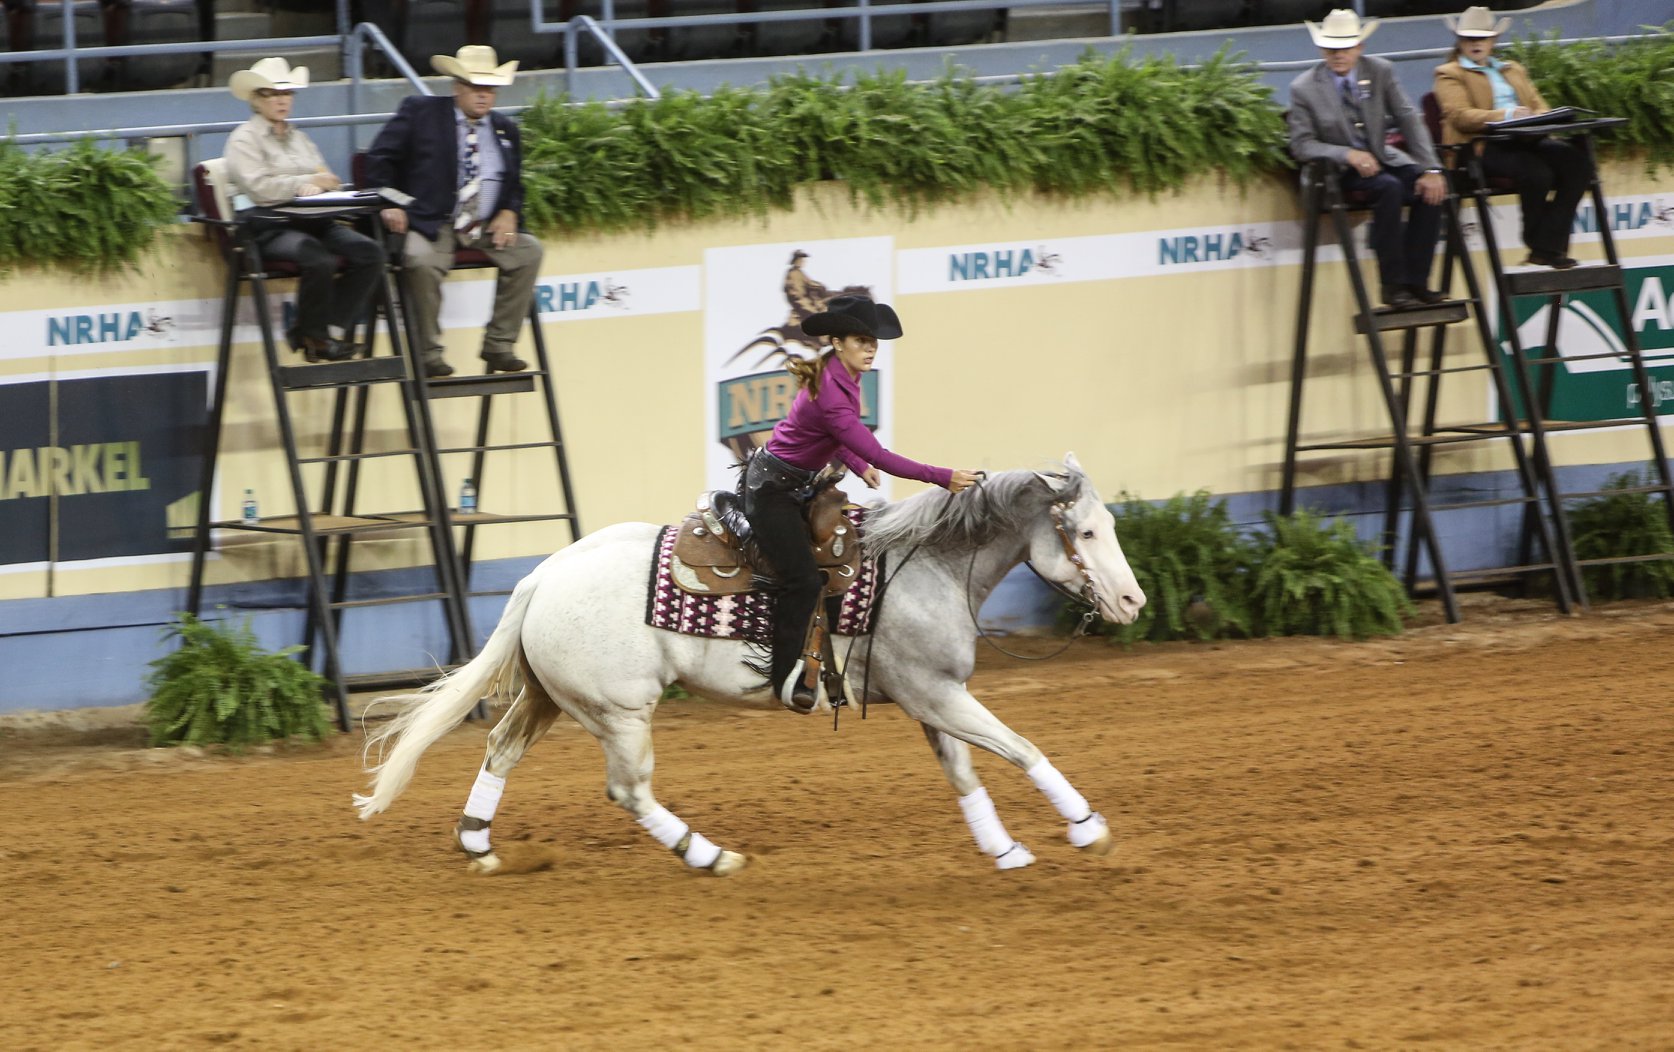
Sliding Stop on a Reining Horse


Brandy and Terri Murphy
Rundown
To have a good stop you must have a good run down. Start your lead departure by walking the horse forward with their head straight and in the bridle. After your first strides, you will be able to tell if the horse is soft and collected or if you need to work to get them that way. When you are working the rundown, forget the stop. Use the length of the arena, even if they break down, trot them up into the bridle to the end of the arena. Once the horse is straight you can start to ask for an increase in speed during the rundown. Only after the horse is going straight and you can rate their increase in speed should you say whoa and ask for the stop. Doing this teaches the horse to hunt the stop with their head down and their body round, as well as travel straight and wait for your cue to increase in speed.
https://www.youtube.com/watch?v=Bkfi0_67Q7E
Stopping Exercise
Using two hands start out on the left lead across the pen on the diagonal. As you go, build speed while maintaining collection. Once you get to the half way point break down into a trot. Continue to the corner and counter bend a circle in the direction of the right lead at the trot. Now lope off in the right lead and do another diagonal breaking down to the trot to the corner and counter bend a circle in the direction of the left lead at the trot. As you are building down the diagonal you want to pick up your reins and hold them to maintain collection. Doing this helps teach the horse to pick up their back and stay collected as you drive to the stop. https://www.youtube.com/watch?v=HUChKea5TFA
Jay Dee Anderson
Run Down and Stop
Jay Dee likes to work on the run down and stop by doing a rectangle around the arena. The first step is to lope around the arena and make a small to medium size circle at the end of the arena. After doing that a few times he starts to build speed for the rundown and maintains that speed into the circle at the end of the arena. Once he has done this and the horse is straight and building well he will ask for the stop by saying whoa. The goal of the is exercise to prevent the horse from anticipating the stop and slowing down before you tell them to whoa. A good stop requires an increase in speed on a straight line with the last stride being your fastest.
Mack Weaver
Run Down and Stop
This exercise for the run down and stop helps keep the horse from running off after you turn the corner at the top of the pen. It also allows you to practice the maneuver without having to lope as much. Start by walking half way across the top of the pen and loping off. Once you turn the corner for the run down you want to see if the horse is waiting on you to go to the stop. If not turn the horse into a small circle and stay there until you feel the horse is listening to you. Once the horse is, go to the top of the pen and walk across half way and lope off and try it again. If the horse is waiting on you for the run down go ahead and continue down the pen and stop. Wait at the end of the pen for a minute or so and walk across the pen half way and lope of and repeat the exercise. https://youtu.be/V6iMIxrpyq4
Rein length is very important when it comes to getting a good stop. If your reins are too short the horse will not be able to drop their head and move as well in the stop. Short reins can cause you to pull on the horse’s face causing a jarring of bit in their mouth as well as stopping their forward motion. Mack likes to have a shorter rein around the top of the pen, but when he turns the corner for the run down he will shake out some rein so that the horse is on loose rein for the run down and stop.
Sean Johnson
The Run Down and Stop.
When you are running down to the stop you want to have your inside leg forward and your outside leg is used to bump for more speed if the horse does not respond to the kiss. You also want to be driving down into your heels and sit down and back in the saddle. The idea is to have your body already in the stop position and be behind the motion. Being in the stop position as you are running down allows your horse to go to the ground with their hind end and you to stay seated during the stop. When you are stopping a horse you also want to be aware of your reins. You can use them to moderate the speed if you need to but when you ask for the stop you really don’t want to pull back on the reins. Pulling back on the reins will stop the forward movement and result in a shorter stop that can be heavy on the front end.
As with everything in reining maneuver the approach to the stop is just as important as the stop itself. What we did was use the entire length of the arena as well as going around the ends. The advantage to this is you can practice speed control at the ends as well as squaring off your corners in preparation of the run down. Sean likes to practice the stop this way because it allows you to build for the stop but you are not always stopping every time. He feels that when you are sitting in stop position and squared your corner and building incrementally you are able to surprise the horse with the stop there by training the horse to stop only when asked.


I hope you have enjoyed this post and will share it with your friends.
All images were provided by Maria Hurd and show case her daughters Amanda and Elena Hurd competing.
For more reining horse training blogs go to the post page at https://horsetaillegacy.com/jgjs


 Our horses are trained to be responsive to our body ques. When you ride a circle, you want to ride spotting 1/8 of the circle at a time. If you ride too far ahead of your horse it becomes difficult to maintain a consistent circle. An older horse knows how to stay under your hands and follow the circle however, if they make the back decision to lean in or out of the circle Bobby likes to correct this by turning the horse sharply across the circle and then get back on the circles’ path. These two techniques helped my circles a great deal. It also helps reduce the need to continually pick up my hands to guild him to do what he already knows my horse throughout my circle. The more we did this the better he stayed between my hands and on the path of the circle.
 When transitioning from fast to slow circles you need to build in the cues that signal the horse to make the change in speed. Start by loping a circle and when you want to slow down start to hum, pick up your hand as they start to come back to you drop your hand. Use your outside leg to push the hip into the circle. Then once they come back, you want to stop them. This conditions the horse that when they hear the hum they think stop. Once they understand the cues, then move on to the transitioning from fast to slow circles. Be consistent and your horse will learn how to transition smoothly.


 Melanie and Sebastian Petroll are professional reining horse trainers located in Whitesboro, TX. While I was there I rode three different horses and worked on guiding with the neck rein, lead changes, turnarounds, stopping, and rollbacks. I found the Petrolls through the NRHA’s Buy A Pro Program. In 2015 this program replaced the regional clinics as the primary fundraiser for the NRHyA. Anyone that wants to take a lesson from some of the best Reining Horse trainers are able to bid on the trainers that are taking part in the program. I decided to bid on Melanie Petroll during the auction. The auction allowed for two lessons with that trainer. I added additional lessons privately so that I could ride with both Melanie and Sebastian.


